
The full game-day reference.
Find the control, feature, or answer you need. Use the topic index to jump right to it.
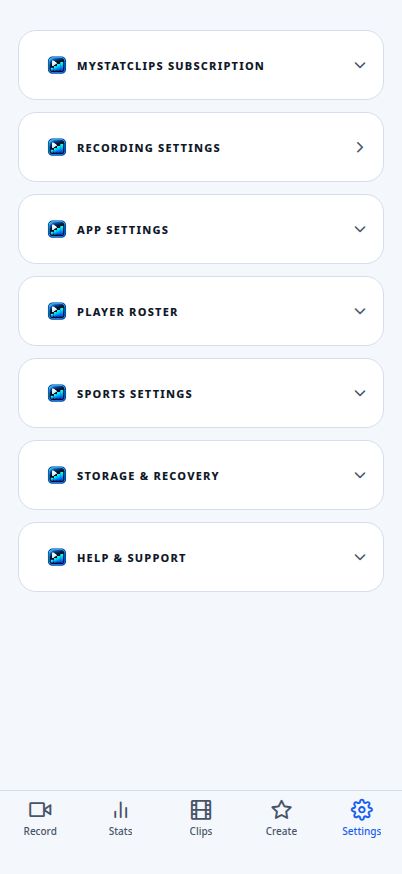
Player Roster
Set up an athlete once, then choose them when you record.
- 01
Open Settings → Player Roster and add a player. Enter the athlete’s name and the profile details you want to use.
- 02
Select the sports that athlete plays. Team, jersey number and position can be different for each sport; check those details for the sport you’re recording.
- 03
Return to Record and choose the saved athlete. Add another athlete if you want to track two players in the same session.
- 04
Edit the roster when profile details change. Previously saved sessions keep their own recorded information; a profile edit is not a correction to an old game.
Sports Settings
Choose the buttons you need for each athlete and sport.
- 01
Open Settings → Sports Settings and select the athlete and sport you want to configure.
- 02
Choose up to eight live stat buttons from that sport’s action list. Use clear custom action names if you add your own.
- 03
Undo and Clip remain available separately from the selected stat buttons.
- 04
Check the sport again on Record before starting. An athlete must have that sport selected in their profile to use it in their session.
Basketball Team Setup
Premium basketball team tracking uses its own team roster.
- 01
Open Settings → Sports Settings → Basketball → Team Setup. If prompted, review the Premium options in Settings → MyStatClips Subscription.
- 02
Create the team and add its roster. Enter each player’s name and jersey number, then choose the team stats you want to track.
- 03
Link a team player to an existing athlete only when it is the same person. Linking makes that player’s team moments available in the athlete’s view without making another video copy.
- 04
On Record, choose Basketball and the Team tracking option, select the team, and select five starters before starting.
Team recording
Select the player who made the play before tapping their stat.
- 01
After team setup, choose Game or Practice and check the starting five. Tap START when the camera and lineup are ready.
- 02
Use the live team roster to select the athlete who made the play, then tap the stat. Check the selected name or number before each tap.
- 03
Use substitutions to update the on-court lineup. Changing the selected player does not move earlier recorded stats to that player.
- 04
Review team and player totals after the session. If a total needs a manual correction, use the totals editor; a correction does not create new shot-by-shot history or video.
Team Highlight Capture
Decide whether team stat taps should also mark highlights.
- 01
Open the basketball team settings and find Team Highlight Capture.
- 02
Turn it on only if you want team stat taps to create highlight moments. Read and confirm the storage warning.
- 03
When it is off, team stat tracking still works, but those stat taps do not automatically create highlights.
- 04
Use Clip to deliberately mark a moment without adding a stat. Review team footage in the Teams filter in Clips; explicitly linked athletes can also see their own team moments.
Game or Practice
Use a game session for a matchup and practice for a workout.
- 01
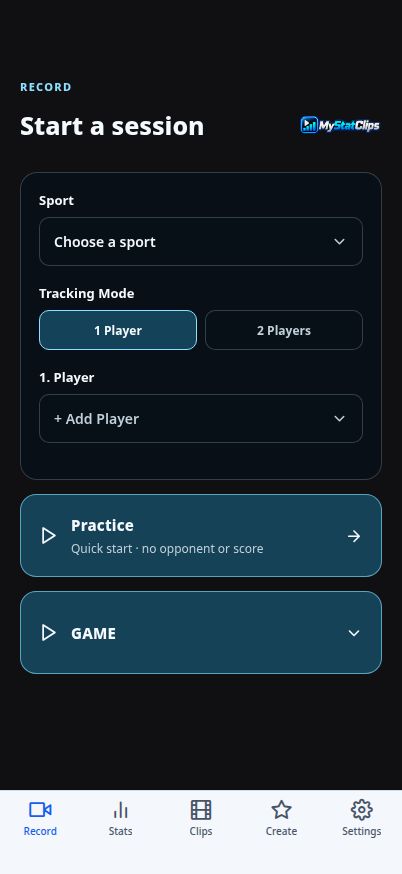
On Record, select your sport and athlete, two athletes, or basketball team. Choose Game or Practice.
- 02
For Game, complete the opponent and game details shown in setup. Check them before tapping START.
- 03
Practice is a quick-start workout without needing an opponent or final match result. You can still record, track actions and mark highlights.
- 04
Both flows use the live recording controls. Finish the session using End Game and wait for saving to complete.
Recording controls
Check the camera, start, and keep the app in the foreground.
- 01
Allow the camera and microphone permissions requested by iOS. Position the phone securely and check the view before START.
- 02
Choose portrait or landscape while the session is ready. Recording keeps that starting orientation; don’t expect rotating the phone mid-session to rebuild the movie.
- 03
Tap START and confirm the screen shows recording rather than READY, STARTING or a warning. Keep the phone pointed at the action.
- 04
HIDE clears the recording controls from the camera view; SHOW brings them back. Hiding is not pausing.
- 05
Use PAUSE / RESUME for breaks. Use End Game to finish and save, not the phone’s app switcher.
0.5x / 1x / 2x zoom
Adjust framing without changing the session.
- 01
Use the zoom controls above the live action controls. Start with 1x for the default main-camera view.
- 02
Choose 0.5x for a wider view only when your phone has a supported, available Ultra Wide camera. If it isn’t offered, it is not supported in that camera setup.
- 03
Choose 2x for tighter framing when available. Check that the athlete and ball remain visible before continuing.
- 04
Zoom changes framing, not recording quality. A tighter view can make it harder to follow fast action; avoid unnecessary changes during a play.
Stats and highlights
Record the play for the correct athlete as it happens.
- 01
Tap a stat button shortly after the play. The app records that stat and marks its associated highlight when highlight capture is enabled.
- 02
In 2 Players mode, select the right athlete before tapping. In Team mode, select the player from the live roster.
- 03
Review totals in Stats after the session. A highlight is a marked video moment; a stat total is a count of the actions you recorded.
- 04
Use manual total correction for a count you missed or need to change. It does not create a video highlight or invent individual shot history.
Clip and Undo
Keep a moment without a stat, or correct your most recent stat tap.
- 01
Tap CLIP during recording to mark a manual highlight. It does not add to a stat total.
- 02
If you tapped the wrong stat, tap Undo while recording. It removes the most recent stat event and its linked highlight.
- 03
Undo is not a general erase button for every manual Clip or an earlier game. To remove a saved clip, use the Clips library instead.
- 04
For a missed play, don’t tap a later stat and assume its video will move backward to the original play. Review the full game or correct the total separately.
Pause / Resume
Pause for a break; resume explicitly when the camera is ready.
- 01
Tap PAUSE when you don’t need to capture the break. Tap RESUME when you’re ready for the next play.
- 02
Keep MyStatClips open. Leaving the app can auto-pause capture; return, read the message and resume explicitly.
- 03
If iOS stops the camera or recording, follow the warning. Not every interruption can resume into the same video file.
- 04
If the screen says the video stopped, use End Game to save what is available. Check Storage & Recovery if saving needs attention.
End Game and saving
Finish the session before closing the app.
- 01
Tap End Game and confirm the finish dialog. Complete any score or session details requested.
- 02
Keep the app open while it closes the recording and saves the session. Wait for the saving state to finish.
- 03
Open Clips and check Highlights or Full Games for the session. Some highlights may still be preparing; follow their status rather than repeatedly ending the game.
- 04
If saving fails or stays unfinished, open Settings → Storage & Recovery → Recovery. Don’t delete the session or app to try to fix it.
Recording quality
720p / 30 fps is the efficient default.
- 01
Before recording, open Settings → Recording Settings and choose the video quality.
- 02
Use 720p at 30 fps for the most efficient balance of storage, battery and heat.
- 03
1080p and 4K also record at 30 fps. They use more storage and power; choose them only when you need the extra detail.
- 04
Check free storage before a long game. Allow room for the full recording and the highlights or exports you plan to save.
Overheating prevention
Prepare for long games and watch the phone’s warnings.
- 01
Charge your phone before the session, dim the screen, close unnecessary apps and start with free storage.
- 02
Use 720p / 30 fps and keep the phone shaded and ventilated. Avoid direct sunlight and heat-trapping covers or mounting arrangements.
- 03
Avoid unnecessary switching between apps or demanding tasks while recording. Charging can also add heat; watch the phone’s temperature.
- 04
If a temperature or quality warning appears, pause safely and let the phone cool. If iOS stops recording, follow the app’s save or Recovery instructions.
Clips library
Find highlights by athlete, team, action or favorite.
- 01
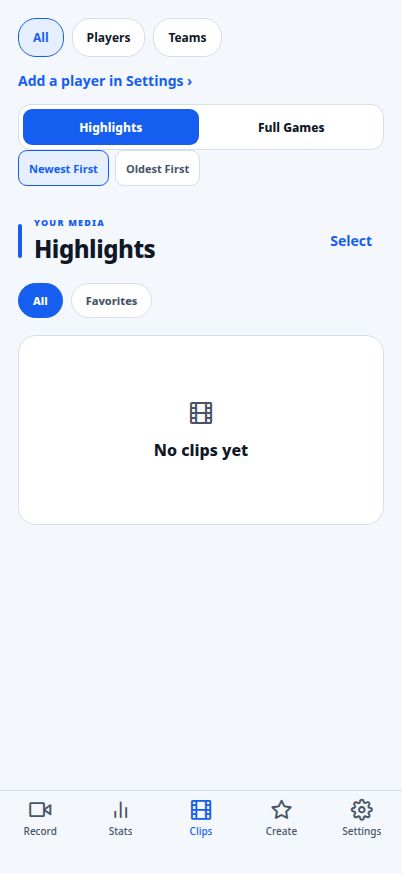
Open the Clips tab and choose Highlights. Use All, Players or Teams to set the scope, then choose the athlete or team you want.
- 02
Use All, Favorites or the available action filters to narrow the list. Choose Newest First or Oldest First.
- 03
Open a ready clip to watch it. Favorite useful moments so they are easier to find later.
- 04
Use Save to put a copy in Photos, or Share to send it through the iPhone share sheet. Allow the Photos permission if requested.
- 05
Use Select for bulk actions. Bulk Save exports each selected clip as its own video; it is not a Highlight Reel.
Trimming
Keep the part of a saved highlight you want to share.
- 01
Open a saved, playable highlight and enter its editing controls.
- 02
Drag the timeline’s start and end handles to choose the useful moment. Preview it before saving.
- 03
Save the edit to keep the trim, or cancel to leave the previous edit unchanged. Use the clip’s mute control if you don’t want its audio.
- 04
The saved trim is used by supported sharing, saving and reel paths. It does not rewrite your full-game recording.
Full Games
Return to the full session rather than only its marked moments.
- 01
Open Clips → Full Games, then choose the athlete or team scope.
- 02
Choose Newest First or Oldest First to find the session. Open its ready recording to watch it.
- 03
Use the available share/export control if you want a copy outside the app. Long videos need additional storage and time.
- 04
If a full game is unfinished, check Recovery. A playable recording and a complete set of stat-linked highlights are separate things.
Sorting and deletion
Organize the list and check what you’re deleting.
- 01
Use Newest First / Oldest First in Highlights or Full Games. Filters and sorting change the view, not the underlying recording.
- 02
Delete a clip to move that clip to Recently Deleted. Delete a full game only after reading the confirmation about its stats, recording and related highlights.
- 03
Review selections carefully before a bulk delete. If a save, export or other media action is busy, let it complete first.
- 04
To reclaim space permanently, review Recently Deleted rather than assuming a soft-deleted recording has already freed all its storage.
Recently Deleted
Restore a deleted session or remove it permanently.
- 01
Open Settings → Storage & Recovery → Recently Deleted.
- 02
Games and clips remain there for up to 30 days. Restore an item to bring back its saved data and available video.
- 03
Use permanent deletion or Empty Recently Deleted only after reviewing the contents. Permanent deletion cannot be undone.
- 04
Restoring a highlight depends on its source footage still being available. Don’t permanently delete a full game you still need for its clips.
Recovery
Handle an unfinished recording without discarding its footage.
- 01
Open Settings → Storage & Recovery → Recovery when a session did not finish saving normally.
- 02
Use Check Again, then Recover Full Game or Retry Finalization as shown for the unfinished session.
- 03
If complete finalization is unavailable, use View Available Footage or Export Valid Segments when offered. These may preserve video without restoring every stat or highlight.
- 04
If an attempt fails, read its message and keep the source data. Repeated failures need support, not deletion or app reinstall.
Stat Card
Create an athlete graphic from the profile and saved stats.
- 01
Open Create → Stat Card. Choose the athlete and the saved game or stats you want to show.
- 02
Select the Free design or, with Premium, Premium Design 1 or Premium Design 2. Adjust the available photo, colors and text controls.
- 03
Preview the whole card and check names, team details and numbers. Manual changes on a graphic do not create new recorded plays or clips.
- 04
Save or share the finished image. Photo background removal is a Premium option on supported iOS 17+ devices; keep the original photo if removal is unavailable.
Highlight Reel
Premium can combine 2–5 saved highlights into one short video.
- 01
Open Create → Highlight Reel and choose the athlete. Select two to five ready, saved clips.
- 02
Put the clips in the order you want. Check the saved trims and each clip’s mute setting before generating.
- 03
Choose the Reel Audio option, then tap Generate Reel. Wait for completion and play the result before saving or sharing.
- 04
The result is a 9:16 vertical, 1080 × 1920 video. Wide clips fit inside the frame so the recorded action is not cropped; existing clip branding stays.
Reel Audio
Keep the recorded sound or mute the whole reel.
- 01
In Create → Highlight Reel, find Reel Audio before generating.
- 02
Keep Audio preserves available original clip sound, while respecting clips that you already muted.
- 03
Mute Reel removes audio from the entire generated reel. It does not change the original clips.
- 04
No music library or soundtrack import is provided here. If you add music later in a social app, follow that service’s music rules.
Troubleshooting
Start with the message on screen; avoid deleting your data.
- 01
Camera won’t start: check iPhone Settings → MyStatClips permissions, then return to the ready session. Native camera recording is not supported in the website preview.
- 02
Athlete, sport or Team is missing: check Player Roster sports, the current sport filter, the team roster and Premium status where required.
- 03
No clips appear: check the athlete/team and action filters, whether you tapped a stat or Clip during recording, and the session’s save status. Team stat highlights also require Team Highlight Capture.
- 04
Recording paused or stopped: return to the app, read the interruption message and resume only if it offers Resume. Otherwise finish/save available footage and check Recovery.
- 05
Save or share failed: check free space and Photos permissions, confirm the clip is ready, and try again after the current media action finishes.
- 06
Reel won’t generate: choose two to five saved clips, check Premium and resolve missing media. A trim or mute edit cannot repair a missing source file.
- 07
Purchase not recognized: allow the subscription check to finish and use Restore Purchases. Don’t repeatedly purchase the same plan to troubleshoot.
- 08
Still stuck: contact support with the app version, iPhone model/iOS, exact error, and what you tapped. Don’t uninstall or delete original recordings while seeking help.
Supported sports
Choose the sport that matches the session.
- 01
The current app supports Basketball, Volleyball, Tennis, Soccer, Football, Baseball, Softball, Lacrosse and Hockey.
- 02
Each sport has its own action list. Choose the sport in the athlete’s profile and configure it in Sports Settings before recording.
- 03
1 Player and 2 Players modes track individual athletes. Team roster recording and substitutions are currently Basketball-only and require Premium.
- 04
Use the options available in your installed version. Updating the website does not add a new mode to an older app build.
Quick reference cheat sheet
The shortest route to the controls you need.
- 01
Add or edit an athlete → Settings → Player Roster.
- 02
Choose live stat buttons → Settings → Sports Settings.
- 03
Set up a basketball team → Settings → Sports Settings → Basketball → Team Setup.
- 04
Set efficient quality → Settings → Recording Settings → 720p / 30 fps.
- 05
Start a session → Record → sport + players/team → Game or Practice → START.
- 06
Keep a moment without a stat → CLIP. Correct the last stat → Undo.
- 07
Take a break → PAUSE → RESUME. Finish and save → End Game.
- 08
Watch, trim or share → Clips → Highlights. Watch a full session → Clips → Full Games.
- 09
Restore deleted items or finish an interrupted save → Settings → Storage & Recovery.
- 10
Make a graphic or short reel → Create → Stat Card or Highlight Reel.
- 11
Check or restore Premium → Settings → MyStatClips Subscription.
We’re here to help.
Reach out to the MyStatClips support team with your question.
Contact support